The MovieMator work area was made easy and handy to quickly import videos/audios/images and edit them to fancy home movies. This section guides you how to quickly start your workflow and explains what the function of every button are. This is what it looks like.
To know more about each button and panel, please check the page for each part: Resource Panel, Player Panel, Timeline Panel.
Resource Panel
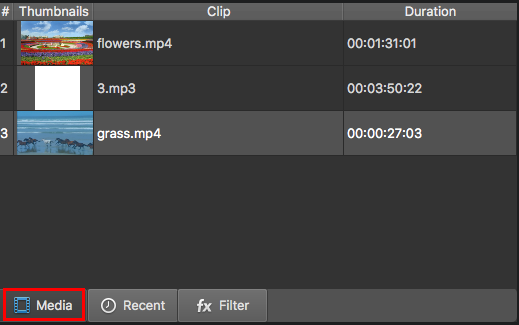
1. Media Tab
When the videos/audios/images are imported into MovieMator, they will be displayed in the “Media” tab. You can see the clip thumbnails, clip name and clip duration on this tab.
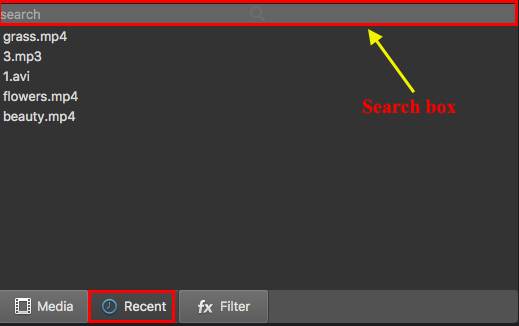
2. Recent Tab
The latest imported files will be listed in “Recent” tab and you can even quickly find out your target files by searching their name.
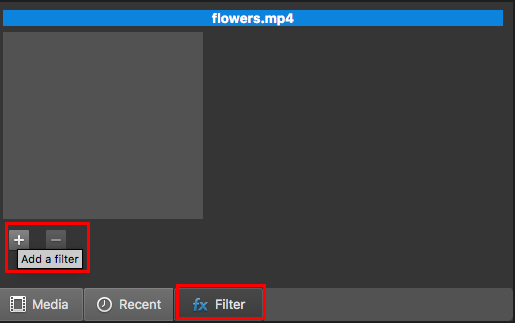
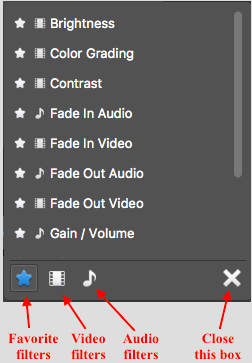
3. Filter Tab
Open this tab and click “+”, you will be able to add filters to your videos/audios to make the videos more beautiful. There are more than 40 filters for you.
Player Panel
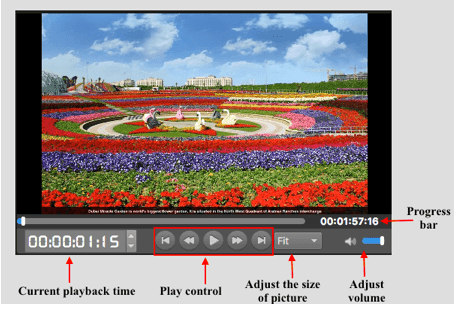
The “Player Panel” is also the real-time preview window. When you completed editing your videos, you can preview the effect by playing the video. The real-time preview feature ensures what you see is what you get.
Timeline Panel
MovieMator supports unlimited tracks so that you can add as many tracks as you want to edit large projects. With the timeline panel, you can easily edit videos and make home movies in a few minutes. I will explain what the function of every button. By the way, MovieMator supports OSD (on screen display) feature, so the function of every button will be displayed when you hover your cursor over the button.

1: Display a menu of track control.
2: Append the selected file to the current track
3: Insert the selected file to the current track (at the playhead)
4: Remove the current clip
5: Split the clip at the playhead
6: Frequently-used filters
7: Zoom in/out the timeline
8: Mute the track
9: Hide/Show the video track
10: Lock the track


