In Drupal, update and upgrade are two different things. Update stands for taking Drupal from one minor version to another, such as from 8.1 to 8.2, while upgrade would be taking your Drupal core version from 7 to 8.
In this section, we will go through the steps required to update Drupal. However, Before starting the update, it’s strongly recommended to put your site into Maintenance mode. So you’ll be the only one who has access to the site during the updating process:
1. Navigate to the Configuration tab and click on Maintenance Mode.
2. Check Put the site into maintenance mode option.
3. Hit the Save configuration button.
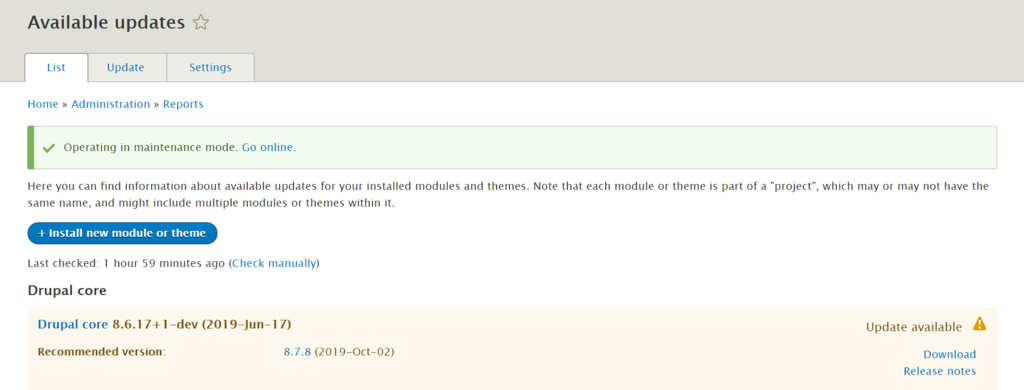
Now let’s start the updating process. Firstly, to see if an update for Drupal core is available, navigate to Reports > Available Updates section.

There are quite a few ways to update Drupal. For instance, you can use SSH or FTP to update manually or automate updates with composer. If you’re a beginner, the most convenient way would be to use an FTP client like FileZilla:
1. Download the latest Drupal version and extract it to your computer.
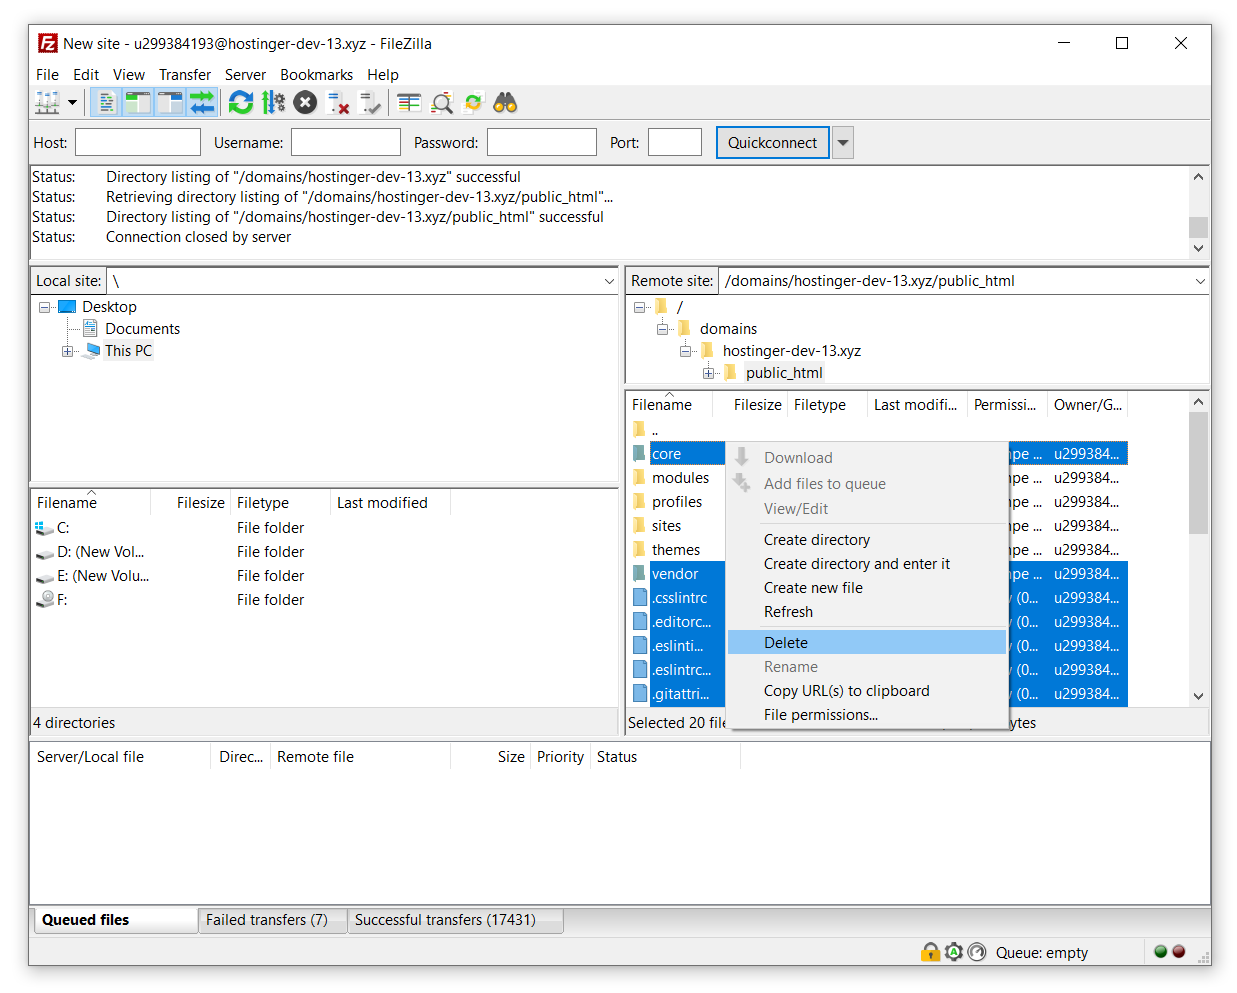
2. Connect to your FTP account and access folder where Drupal is installed. In most cases it’s public_html.
3. Select core and vendor folders as well as all the files (not folders) in the root Drupal directory and delete them.

4. Now access the folder with Drupal update files and select all files except modules, profiles, sites, and themes. Then, upload them.
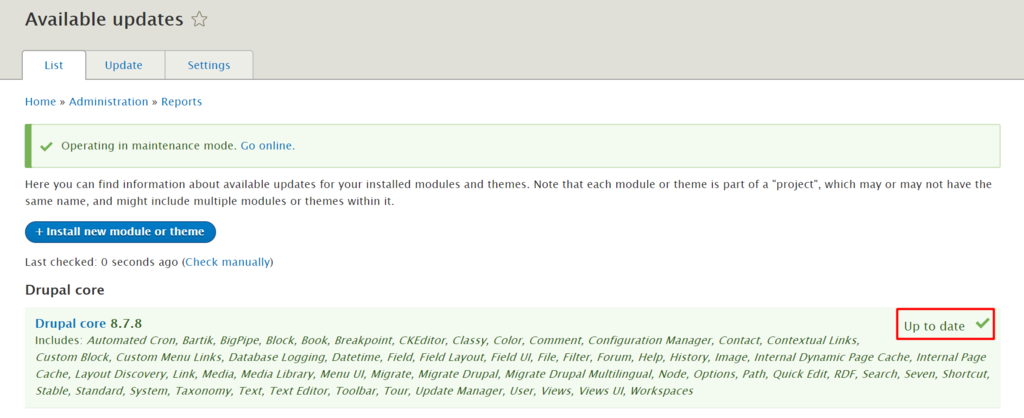
5. After the uploading process is completed, visit the Available Updates section once again to check whether the core version has updated.

6. Turn off the maintenance mode by clicking on Go online.


